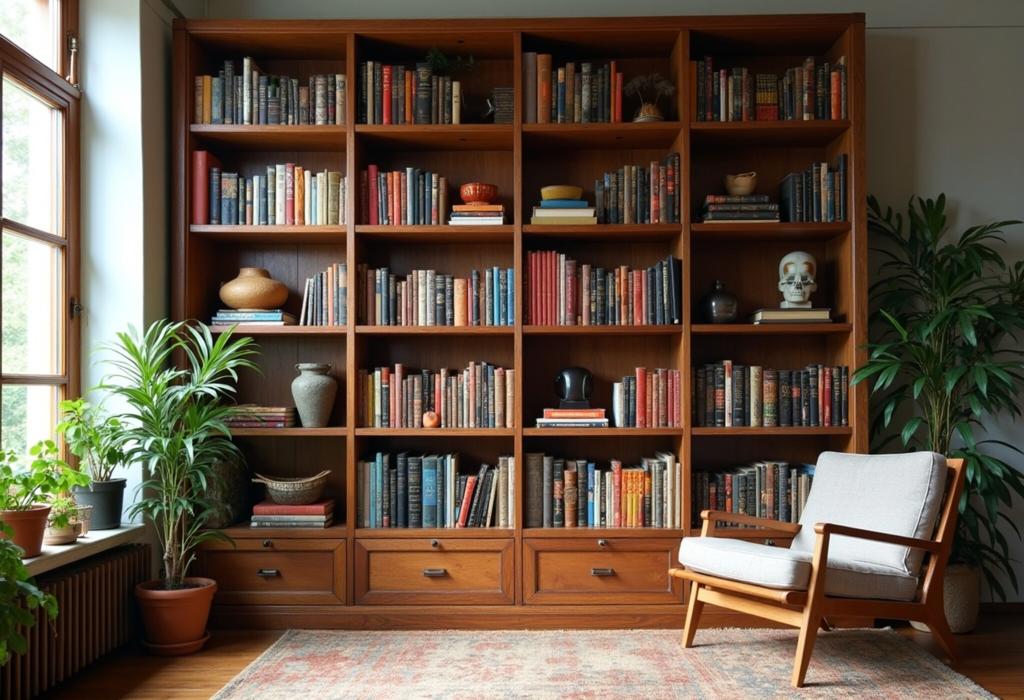
For more details on this content, please review the step-by-step guide and frequently asked questions.
How to Build a DIY Bookshelf

Step-by-Step Guide
Determine Shelf Size and Style
Decide on the dimensions of your bookshelf based on available space and the size of the books you want to store. Consider the style you wish to create – will it be modern, rustic, or minimalist?
Gather Materials
Collect all necessary materials. You will need wood boards (for shelves and sides), a saw, screws, a drill, sandpaper, wood glue, wood finish or paint, and a measuring tape.
Measure and Cut the Wood
Using a measuring tape, measure out the pieces of wood you need for the shelves and sides of your bookshelf. Mark these measurements with a pencil and carefully cut the wood using a saw.
Sand the Edges
Take sandpaper and smoothen the edges and surfaces of each piece of wood. This will prevent splinters and prepare the wood for finishing.
Assemble the Frame
Begin assembling the frame of the bookshelf by attaching the side pieces to the bottom piece using wood screws. Make sure everything is level and square before proceeding.
Install the Shelves
Decide on the spacing between shelves – a common distance is 12-18 inches. Install shelf supports or brackets in the frame where the shelves will sit. Place the shelves on top of the supports.
Add the Backing
Cut a piece of thin plywood or hardboard to fit the back of the bookshelf. Fasten it to the frame with wood glue and screws for additional stability.
Finish the Bookshelf
Apply wood finish, stain, or paint to your bookshelf for aesthetic purposes. Allow it to dry completely before placing any books on it.
Secure the Bookshelf
If needed, anchor the bookshelf to the wall to prevent tipping, especially if it’s tall. This can be done using L-brackets and screws.
Organize Your Books
Once the bookshelf is dry and secure, arrange your books and any decorative items as you like!


